Table of Contents
Advanced Topics
Connect to a network
Ethernet:
Remove the lower housing cover of your Openvario and connect an Ethernet cable to the Cubieboard RJ45 connector, that´s it!
Warning! Never try to connect Ethernet to one of the four IGC compatible RJ45 connectors on the backside of your Openvario!
WiFi:
Connect a USB Wifi dongle (RTL8188CUS and RT5370 chipsets are known to work) to your Openvario, select “Exit to shell” in Ovmenu and following the commands from this wiki: https://wiki.archlinux.org/title/ConnMan </BR>
The flow for us should be:
- enter
connmanctl- to start the network settings in an interactive mode - type
technologies- and have a look at the conditional settings (see the wifi group!) - type
enable wifi- to enable the wifi connection if it's false in the previous output - type
scan wifi- to scan all wifi (ports) and: - type
services- to show all wifi (ports) in the wifi network: - choice one from this displayed list, started with wifi_ and ends with
_managed_none,_managed_wepor_managed_psk. If the last word not_nonethen: - type
agent on- to enable the password input - to connect with the selected port type
connect wifi_…_managed_*- - maybe there is following the input field with the password query
Then wait a little bit up to the network is connected - and then you can
- type
quit- to leave this interactive mode.
BTW: Because connman-ncurse is obsolet unfortunately you cannot use it in newer images (> '20000'). But the command flow above seems to be very easy too!
IP Address
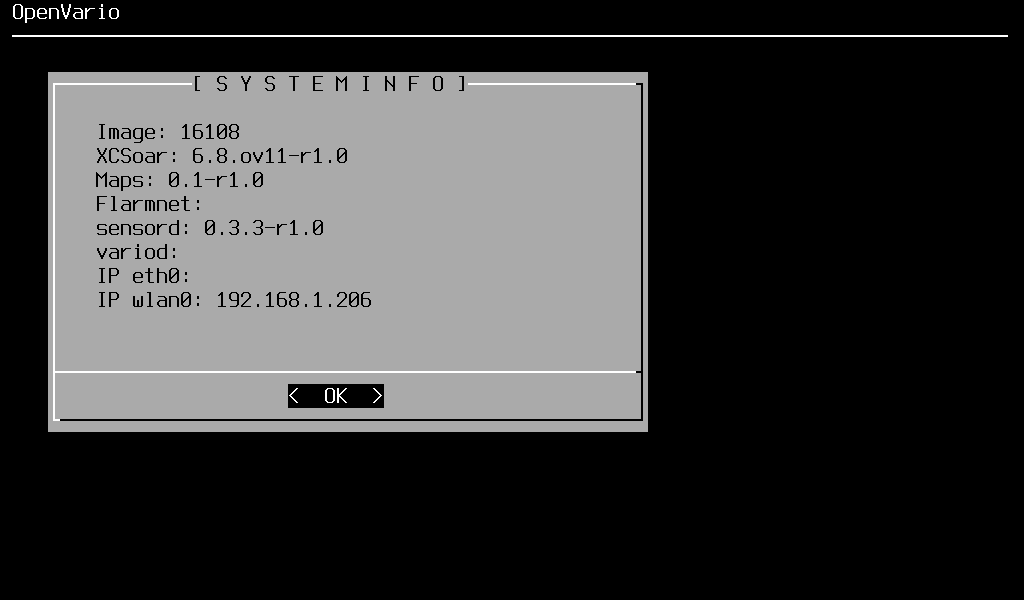 Once connected to a network you can find your IP address (and other useful information) under System → Information
Use SSH or FTP to connect to your Openvario
Once network connection is established and your Openvarios IP address is known use your favorite client to connect to your Openvario. Bitvise SSH Client (Bitvise SSH Client works fine for me.
Data transfer
Copy to/from USB thumb drive in OVmenu
USB thumb drive auto mount
Before a user can access a file on a Unix-like machine, the file system that contains it needs to be mounted with the mount command. If you want to read from or write to your USB thumb drive Openvarios auto mounter does that for you and mounts /dev/sda1 to /usb/usbstick.
Linux shell
Your Openvario is pre-configured to start XCSoar without any manual input required, and if you don´t want to there is no need to use the Linux shell. However, an Openvario is nothing but a small Linux computer, and the shell is the most powerful way interact with it. From OVmenu select Exit and you see the command prompt:
root@openvario-7-PQ070:~#
The # tells us you are root and have all privileges on this machine, use it with care! If you enter rm * to remove everything in your current directory this is exactly what happens! The ~ tells us you are in your home directory /home/root. To go to your XCSoar data directory type
cd .xcsoar and the prompt changes to
root@openvario-7-PQ070:~/.xcsoar# to show you are now in your XCSoar data directory.
List directories with ls -a, delete files with rm somefile.txt or copy files from your usb drive with cp /usb/usbstick/somefile.txt /home/root/.xcsoar/. If you want to edit files use nano /opt/conf/variod.conf (there´s also vi or vim for the hardcore Linux users, but they won´t be reading that anyway). There are many good tutorials on the net to learn how to use linux command line. With just a little bit of experience this is the best way to fine-tune or debug your openvario.
Update your Openvario
Write new image from USB
Once your Openvario is installed in your panel (that´s exactly where it should be, shouldn´t it?) removing the µSD card for flashing a new image is really troublesome. Good news is, you don´t have to do that because you can flash it from USB.
Save file ov-recovery.itb to your USB thumb drive in directory /openvario. Download the new image file and save it (the compressed ….img.gz file as downloaded) to /openvario/images. Attach the USB thumb drive to your Openvario and reboot. Your Openvario will boot in recovery mode and give you the option to flash the new image. Remember to save everything on your µSD card you want to keep before flashing the new image, once you start flashing all data on your µSD is erased! Be patient, flashing the new image takes some time. If possible, avoid using USB hubs and attach the USB thumb drive directly to your Openvario.
Update packages with opkg package manager
The software on your Openvario is delivered in packages that can be installed, removed or updated with a package manager. For the Openvario this package manager is opkg, see this link for more information and syntax.
You can update your system by selecting System → Update_System from OVmenu, or start opkg from the Linux shell to give you full control.
For the beginning let´s assume you have network access and can download from www.openvario.org.
Before doing anything else, always start with updating the list of available packages in the repository with
opkg update
The package manager will check for new packages at some pre-defined locations. Not all of these locations can be accessed, so expect some error messages. If you look closely you should see some “inflating ….” messages inbetween.
Once the package list is updated you can check what´s available with
opkg list-upgradable
Let´s assume an update for variod is available. You can upgrade to the new version with
opkg upgrade variod
Sometimes you need to remove one package to install a different one. Let´s assume you want to install the latest, bleeding edge xcsoar-testing version. To install it, you need to remove your “standard” xcsoar package before
opkg update
opkg remove xcsoar
opkg install xcsoar-testing
If you don´t have network access you can copy the whole repo from ftp.openvario.org/opkg to your USB thumb drive to /openvario/repo/. Attach the USB thumb drive to your Openvario, and it will load packages from there.
You can also install single packages from USB, although if there are dependencies that need to be installed with the package this will become a rather frustrating experience. Lets assume the package somepackage.ipk is in the root directory of your thumbdrive. Install with
opkg install \usb\usbstick\somepackage.ipk
Go to Setup Guide
 Except where otherwise noted, content on this wiki is licensed under the following license: CC Attribution-Share Alike 4.0 International