Table of Contents
Audio Vario / Speed to Fly
How to use audio vario
When you boot into XCSoar audio vario is enabled by default. The best way to use it is with a stick remote. Change between vario and speed to fly (STF) with a switch on the remote. A long press on the quickmenu button takes you directly to the vario menu where you can change volume level, set McCready value or mute the vario tone with the four way switch on the stick remote.
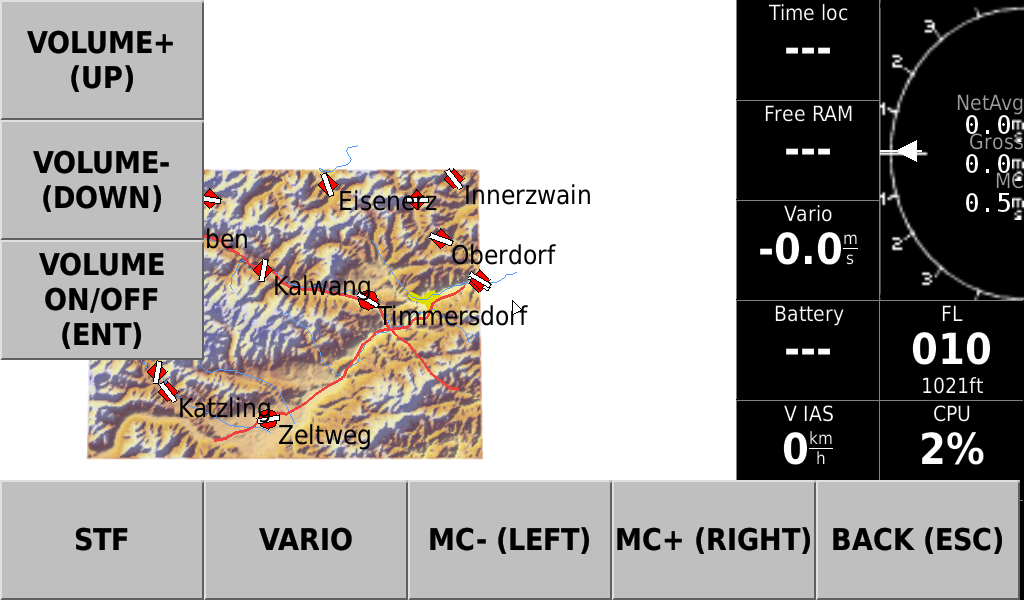
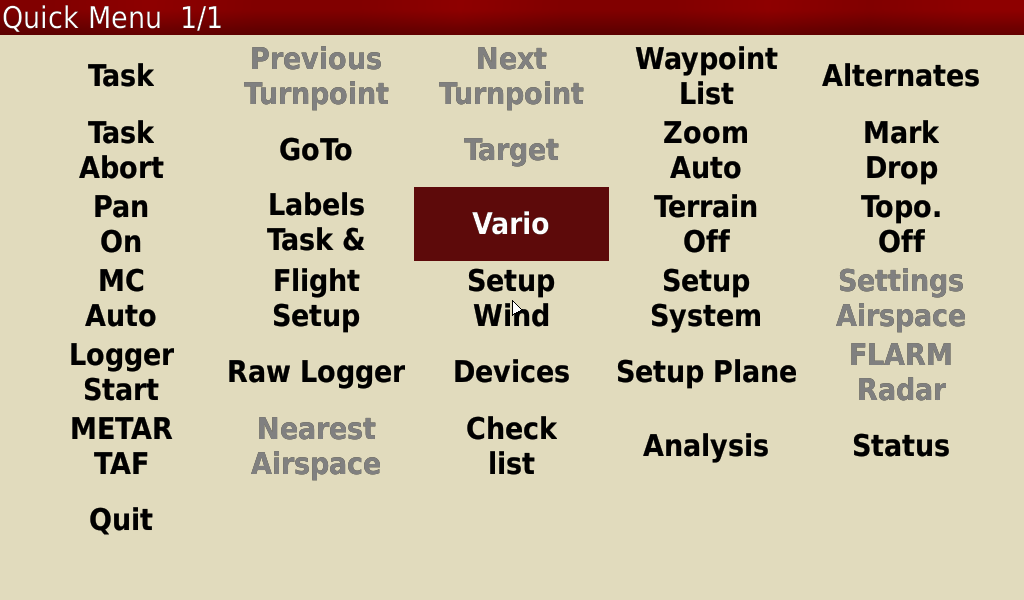
If you don´t have a stick remote you can access vario menu from quickmenu. Draw a rectangle up - left - down - right on the touchscreen or press F1 to go to quickmenu, then select “Vario”.
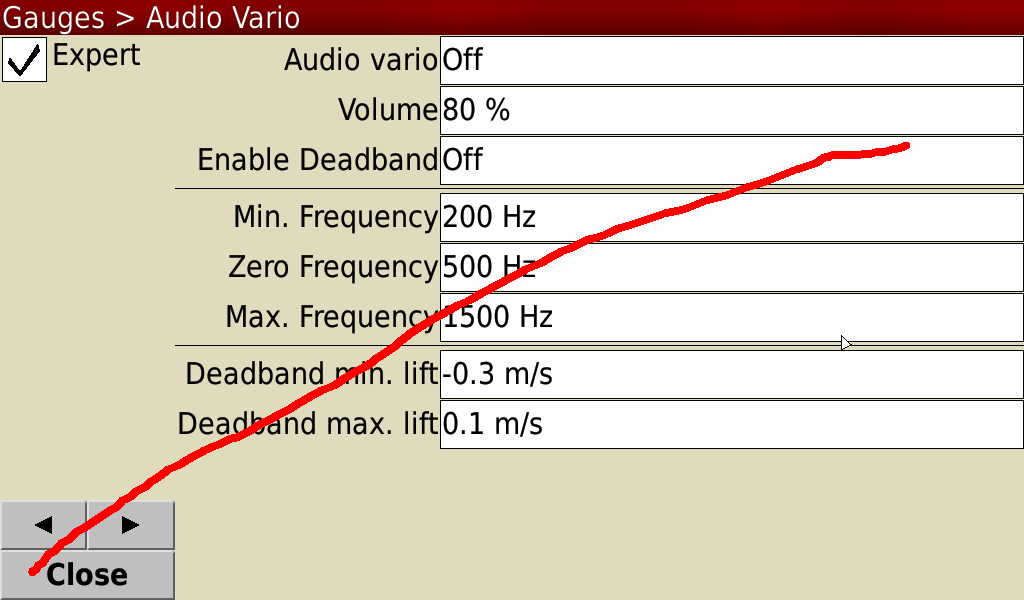
One note of warning, changes in XCSoar Config → System → Gauges → Audio Vario have no effect at all!
General operation principle
The vario signal on your Openvario is not provided by XCSoar, but by a combination of external applications running in the background (“daemons”). This has some advantages, but generates a lot of interfaces between these applications that must be set correctly to make them play together nicely. The main players (not including services to start them) are
- sensord
- sensord.conf
- variod
- variod.conf
- XCSoar (with Openvario driver)
- XCSoar profile (*.prf)
- XCSoar event file (openvario.xci)
- Stick remote (Arduino sketch)
Sensord (\opt\bin\sensord) is a background service collecting data from the sensors (static pressure, TEK pressure, dynamic pressure, voltage sensor). Data from TEK sensor is fed into a Kalman filter (the Kalman filter from XCSoar, but implemented in sensord) to derive vario signal. Pseudo NMEA sentences with all available data are composed (in Openvario protocol) and provided to variod over TCP port 4353.
The configuration file for sensord is \opt\conf\sensord.conf.
Variod (\opt\bin\variod) is a background service receiving data from sensord. It generates audio vario or STF sounds and forwards all available data to XCSoar over TCP port 4352 (also in Openvario protocol pseudo NMEA sentences). It receives control commands from XCSoar over the same (bi-directional) TCP port, this requires that Openvario is configured as “Device A” in devices menu. Some of these commands are generated by the XCSoar event file (increase or decrease volume, mute volume, STF or vario mode), others by the XCSoar Openvario driver (McCready value, bugs, wingload?  ).
).
Polar coefficients, min and max frequency and other coniguration data are loaded from the configuration file \opt\conf\variod.conf.
XCSoar receives sensor (and vario) data, but is also the front end for changing settings during flight. Some of these settings (McCready value, bugs, wingload, etc.) are provided by XCSoars Openvario driver to sensord. The vario menu and associated commands are generated by events defined in the loaded events file (openvario.xci is provided as an example that can be customized as you like). To load your events file select it in Config → System → Look → Language, Input → Events. After changing this setting you must restart XCSoar to apply the new input event file.
The stick remote acts as a keyboard connected to XCSoar and sends key presses or mouse moves to XCSoar. These key presses trigger events defined in the XCSoar events file.
An example:
You flip the vario/STF switch on your stick remote to vario. The Arduino in your remote generates a key press “V” that is received by XCSoar. There it triggers an event defined that sends a command “$POV,C,VAR*CS” to the device connected as device A. This happens to be Openvario on TCP port 4352, which happens to be variod. Variod receives the command and switches audio from STF to vario.
Easy, isn´t it? 
Speaker selection
The little audio amplifier on the sensorboard has enough power to drive a speaker for audio vario, but doesn´t leave too much room for bad choices in speaker selection or placement. General recommendation is to select a 4Ohm, speaker with high efficiency between 300Hz and 1500Hz. Install the speaker in baffle (in your instrument panel, in the sidewall, or in some other panel much larger than the speaker), don´t leave it uninstalled. If you do, you create an acoustic short circuit that reduces generated volume. Install the speaker in a suitable location, if possible close to your ears, and do not hide it behind your Camel bag or canopy cover.
Go to Setup Guide
 Except where otherwise noted, content on this wiki is licensed under the following license: CC Attribution-Share Alike 4.0 International