Touchscreen
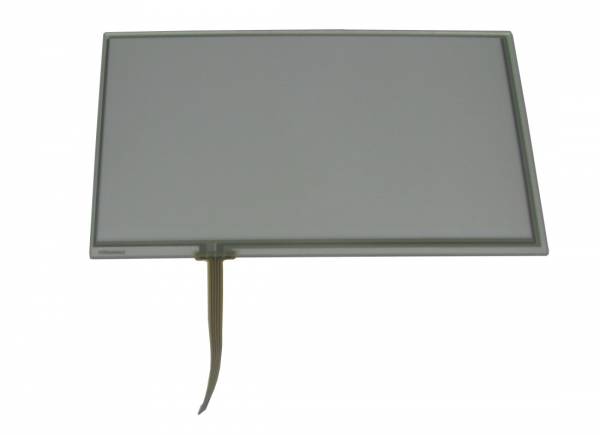
The Cubieboard does support 4-wire resistive Touchscreens, which are available from several vendors for prices around 20 Euro. The Touchscreen is connected via the Adapterboard. Check out the bill of material for a suitable touch panel, which perfectly fits to the Pixel Qi 7“-display. If you are using another display variant, you should verify the following parameters for compatibility to your eventually existing components:
- Outline Dimensions
- Viewable Area
- Position of the Viewable Area relative to the Outline Dimensions and the selected Display
- Required Connector Type (4-wire FPC-cables are commonly used)
- Pin Assignment of the 4-wire cable
Since 4-wire resistive Touchscreens are pure analog devices, you needn't consider screen resolution at all… Have a look at the Variant Table to get a quick Overview about the screen dimensions.
Touchscreen AST Datasheet, suitable for the Pixel Qi 7" Display
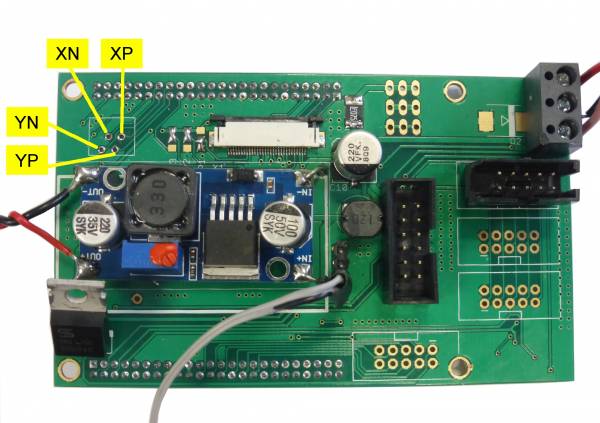
In case you have no datasheet available, you can follow visually the wires on the FPC-cables to the related electrodes of the screen. On the adapterboard you can find the related terminals:
- XN (X-electrode negative)
- YN (Y-electrode negative)
- XP (X-electrode positive)
- YP (Y-electrode positive)
After successful wiring of the touch screen a calibration is required to achieve a proper function. You can find the touchscreen calibration procedure in the OV-Menu under: Settings -> Touchscreen Calibration. During the calibration procedure you have to touch three crosshair-cursors step by step. Afterwards you have to set the Screen Orientation again (even if it fits to your needs) to let the calibration become effective.
For builders who want to dig deeper inside, check out this: http://linux-sunxi.org/Fex_Guide#resistive_touch_panel_configuration The responsible linux-software for the touchscreen is libinput.
Back to Electrical Testing Adapterboard
Go to Remote Stick as an alternative Input Device
Go to Dual Rotary Encoder as an alternative Input Device


